Learn how to extract sound from youtube with simple online tools, apps, and command line tips. Fast, high-quality MP3 or WAV conversions for any project.
Extract Sound From Youtube Easily and Quickly
Fast Ways To Extract Sound From Youtube
Getting audio off Youtube doesn’t have to be a chore. Whether you’re after a quick clip or a full track, you can end up with an MP3 or WAV file in under a minute. For Dutch creators, this is especially handy—Youtube reaches about 75% of Dutch adults, with over 13 million people aged 18+ tuning in nationwide. Learn more about Youtube usage in the Netherlands.
In my experience, three approaches cover virtually every need:
- Browser Converters: Click, paste and download. Ideal when you need speed over perfection.
- Command Line (yt-dlp + ffmpeg): A bit more work up front, but you control bitrate, format and exact clipping points.
- Desktop & Mobile Apps: Friendly interfaces with drag-and-drop simplicity and reliable output.
Beyond simply grabbing audio, this extracted sound becomes the raw material for AI transcription and content repurposing. You can feed MP3s into speech-to-text services or subtitle generators, making your video more accessible and turning key quotes into social media posts, blog excerpts or podcast intros.
That familiar logo is your starting point—once you’ve copied the video URL, you’re ready to pick your preferred workflow.
Comparison Of Extraction Methods
Here’s a quick rundown to help you decide at a glance which method suits your project:
| Method | Ease Of Use | Audio Quality | Best For |
|---|---|---|---|
| Browser Converter | Very Easy | Medium | Quick clips, instant grabs |
| CLI (yt-dlp + ffmpeg) | Moderate | High | Precision work, pipelines |
| Desktop / Mobile App | Easy | High | GUI-based tasks, editing |
Use this table to weigh convenience against control and output quality—then dive right in.
Pro Tip: Command line workflows can pipe extracted audio directly into AI transcription pipelines, automating subtitle creation and boosting accessibility.
Browser Based Audio Converters
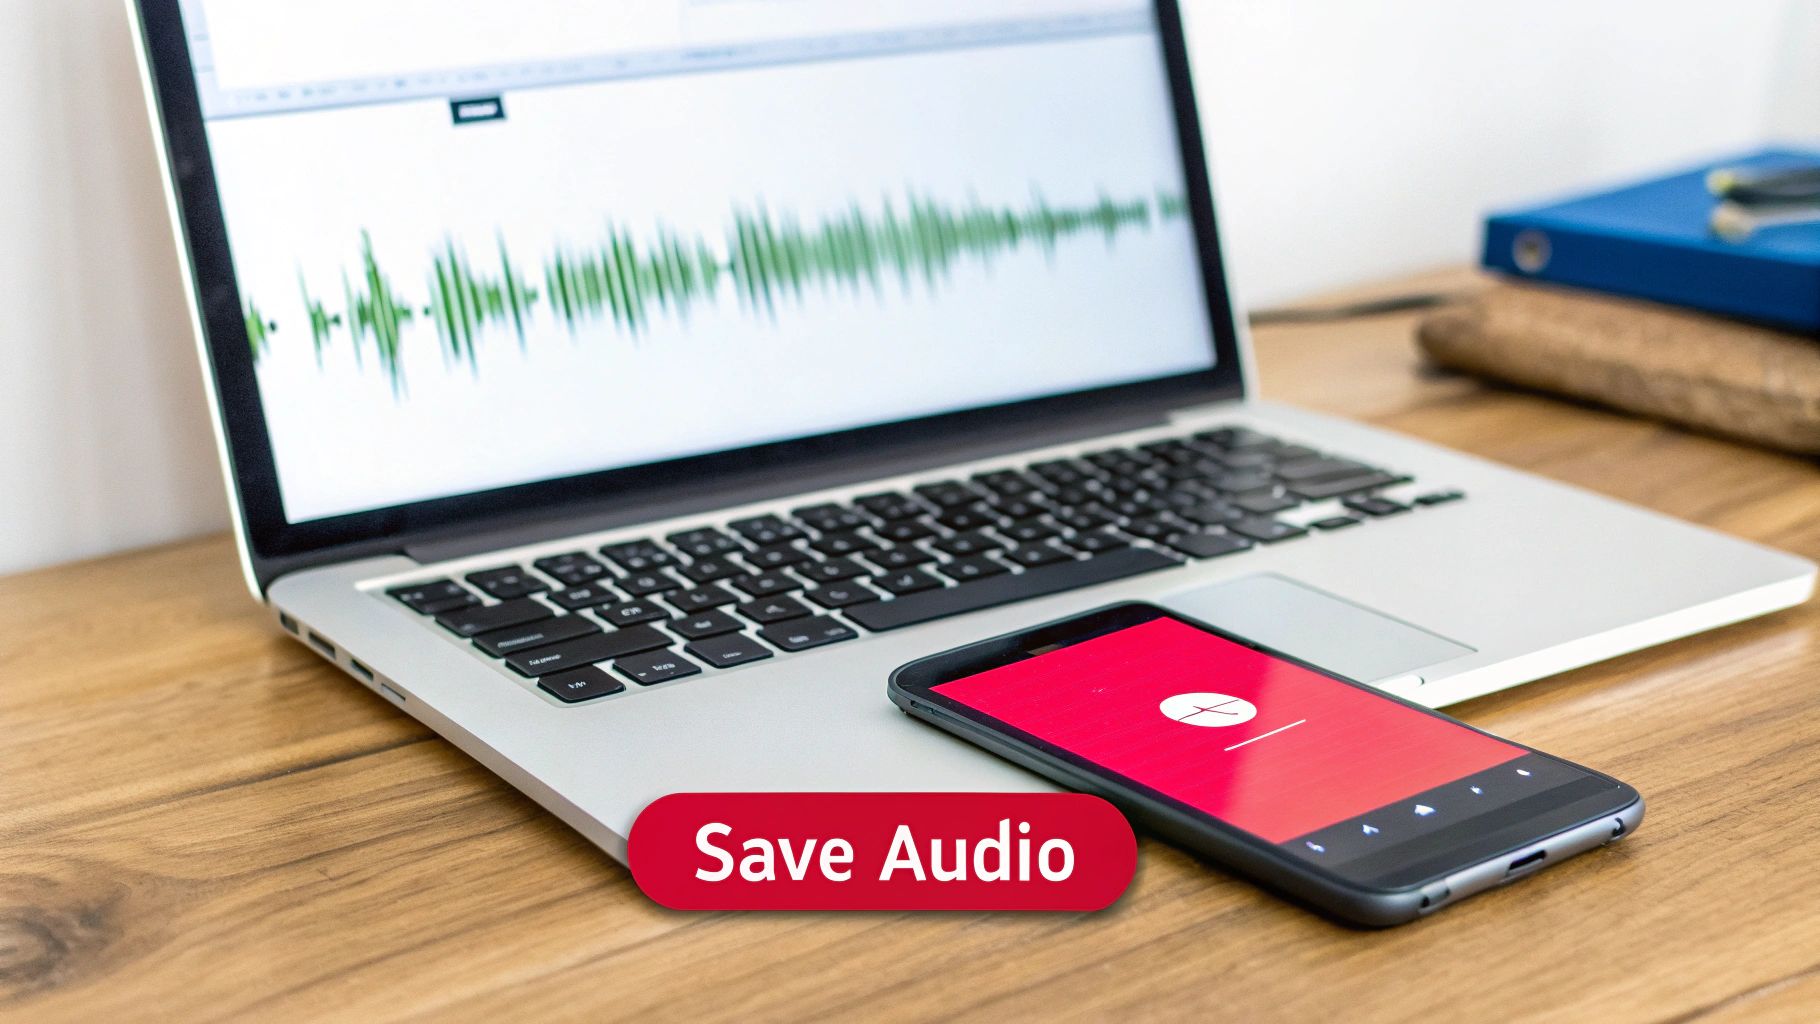
Need audio quickly? Browser-based converters let you pull sound straight from Youtube without cluttering your system with new apps. In under a minute, you can snag MP3 or WAV files—all from your regular browser.
A few go-to services handle the job without much setup. Paste your video link, pick a format and hit download. Still, output quality and hidden costs can vary wildly.
- YTMP3 — Offers 320 kbps MP3s, a clean interface and zero signup hassles.
- 320YTMP3 — Lets you choose between 128 kbps and 320 kbps, though watch out for sneaky ads.
- Y2Mate (official site) — Supports both MP3 and WAV, plus a basic batch option for up to five links.
Once you have the file, upload it to an AI transcription service to generate captions or a full transcript. That transcript can then power subtitles, searchable highlights or repurposed blog content—great for accessibility and boosting engagement.
Choosing A Reliable Converter
Bad ads and fee traps are everywhere. Before you paste that Youtube URL, double-check these:
- Spot the padlock icon in your browser—no SSL, no trust.
- Read user reviews for warnings about fake downloads.
- Close any surprise pop-ups before moving on.
Match the converter’s top bitrate to your source. Free tiers often throttle quality, so aim for 320 kbps or lossless WAV whenever you can.
Quick Download Workflow
Picture this: you’re pulling a crisp guitar riff from a Youtube lesson for your podcast. Here’s how you get from link to audio in seconds:
| Format | Approx Size per Minute | Best For |
|---|---|---|
| MP3 | ~1 MB at 320 kbps | Casual listening |
| WAV | ~10 MB uncompressed | Editing and archiving |
What to do next:
- Copy the Youtube video address.
- Open your chosen converter and paste the link.
- Pick MP3 or WAV, then click the download button.
- Play the file to make sure there are no unexpected gaps.
- Upload to transcription tools or subtitle generators to repurpose content.
For more tips, check out our guide on extracting audio from video online at YoutubeToText.ai: https://youtubetotext.ai/blog/extract-audio-from-video-online-youtube
Screenshot Insight
This snapshot reveals the bitrate selector and clear download controls. You’ll see just how fast picking MP3 or WAV can be.
Insider Productivity Hacks
Keeping things tidy boosts speed. Try these shortcuts:
- Clear your browser cache between sessions to dodge paywalls.
- Run a quick playback in VLC to spot hidden silences.
- Set up a “YTD Audio” folder sorted by project date.
- Prefix files with the video title and timestamp for easier searches.
- Use Mp3tag to auto-populate metadata from the original video.
- Batch-send MP3s to a transcription API to auto-generate show notes or subtitles.
Quick Tip: Batch renaming with a steady template can cut hours off your workflow.
With trusted converters, high-bitrate choices and organised folders, you’ll have pristine Youtube audio without breaking a sweat.
Extract Audio With Command Line Tools

If you’d rather skip the GUI, the terminal gives you complete control. Pair yt-dlp with FFmpeg for a fast, repeatable audio-only workflow. Once you’ve set it up, extracting dozens of clips takes just seconds.
Before you begin, make sure you have:
- yt-dlp installed via pip or your package manager
- FFmpeg accessible in your PATH
- A basic comfort level with a shell or terminal
Key Takeaway Automating downloads saves minutes per file when you’re handling large batches.
Integrating with AI Transcription Tools
After extracting audio, you can immediately feed it into command-line transcription tools or APIs (like Whisper) for batch subtitle generation. For example:
yt-dlp -x --audio-format mp3 --output "%(title)s.%(ext)s" VIDEO_URL \
  && whisper "%(title)s.mp3" --model small --output_format txt
This one-liner gives you both the audio and a raw transcript for content repurposing, accessibility improvements or subtitle editing.
Install Yt-Dlp And Ffmpeg
On Windows, open PowerShell and enter:
pip install yt-dlp
choco install ffmpeg
macOS users can rely on Homebrew:
brew install yt-dlp ffmpeg
And most Linux distros only need:
sudo apt update && sudo apt install yt-dlp ffmpeg
After that, check you’re running the latest versions with yt-dlp --version.
Maintenance Tip Update these tools regularly to avoid format errors.
Download Single Audio Clip
To pull out just the audio from one video, use the -x flag. For a 192 kbps MP3:
yt-dlp -x --audio-format mp3 --audio-quality 192K VIDEO_URL
Swap in wav if you want full fidelity, and bump the quality to 320K for near-lossless results. You can also customise filenames:
-o '%(title)s.%(ext)s'
This template organises files by their original Youtube titles.
Batch Processing Entire Playlists
Handling a playlist is as easy as feeding yt-dlp a text file. Create urls.txt with one link per line, then run:
yt-dlp -a urls.txt -x --audio-format mp3
-o 'Playlist/%(playlist_index)s - %(title)s.%(ext)s'
All your MP3s land in a Playlist folder, neatly numbered. You can then point your transcription scripts at that folder to auto-generate subtitle files for each clip.
Asset management hacks:
- Prefix files with
%(upload_date)sfor chronological sorting - Tag them automatically using
%(uploader)s - Include metadata sidecars via
--write-info-json
Pro Tip Embedding metadata early cuts down on tagging chores later.
Automate Trimming And Archiving
Need just a specific segment? A small Bash script can download and trim for you:
#!/bin/bash
URL="$1"
yt-dlp -x --audio-format wav --download-sections "*00:10:00-00:20:00" \
  -o "Clip_$(date +%Y%m%d)_${URL##*/}.wav" "$URL"
Save this as trim.sh, run chmod +x trim.sh, then call it with a Youtube link. Slot it into cron or Task Scheduler and let it harvest clips overnight. You can also pipe the output straight to transcription:
./trim.sh VIDEO_URL && whisper Clip_*.wav
Final Thought Automating with the command line frees up hours you’d otherwise spend clicking buttons.
Troubleshooting And Maintenance
If a download fails, first check your network and any regional blocks. Stuttering audio often means outdated codecs—run ffmpeg -codecs to see what’s on hand.
Need more stability? Increase the socket timeout:
--socket-timeout 15
Finally, version-control your scripts in a shared repo. That way, everyone on your team stays in sync and you avoid the “but it worked on my machine” trap.
Desktop and Mobile Apps for Audio Extraction
Extracting sound from Youtube doesn’t have to be a chore. Graphical tools give you a clear interface, drag-and-drop simplicity and instant previews. Over time, I’ve settled on a few favourites that run smoothly on both desktop and mobile.
When I needed to pull audio from 50 lecture clips in one go, 4K Video Downloader handled the batch download without breaking a sweat. Meanwhile, ClipGrab proves lightweight when I’m in a hurry, and Audacity remains my go-to for precision editing.
- 4K Video Downloader: Keeps ID3 tags intact, batch downloads, no extra plugins needed
- ClipGrab: Free, simple presets, perfect for quick jobs
- Audacity: Audio editor plus extractor, trims without losing fidelity
All three tools preserve metadata and stay adware-free when you stick to the official sites. That means less time tagging files and no surprise pop-ups.
Desktop App Setup
First, grab the installer straight from each developer’s website. I always double-check the SHA256 checksum—it’s a quick way to rule out tampering.
On Windows, right-click the .exe and choose Run as Administrator, then pick a custom install to skip any bundled extras. Mac users can drag the app into Applications and grant permissions under System Preferences > Security if prompted.
“Once I switched to desktop apps, I cut my extraction workflow from three clicks down to one—while keeping every ID3 tag alive.”
— Podcast Editor
| App | Platform | ID3 Tags | Batch Support | Cost |
|---|---|---|---|---|
| 4K Video Downloader | Windows/macOS | Yes | Yes | Free / Pro |
| ClipGrab | Windows/macOS | Limited | No | Free |
| Audacity | Windows/macOS | Yes | Plugin Tools | Free |
Avoid third-party download sites or installers loaded with trackers. Official vendor pages are your safest bet.
Mobile App Workflows
On iOS, I rely on the Shortcuts app. A simple script picks up a Youtube link from the Share sheet, converts it to MP3 at 256 kbps, tags it automatically and saves straight to iCloud Drive. You can then open it in an AI subtitle app to auto-generate captions for improved accessibility.
Android fans have two solid options: NewPipe and YMusic. Both run fully offline and respect your privacy.
- In NewPipe: enable background audio, set your download folder and grab the latest APK.
- In YMusic: choose your audio quality, turn on auto-tagging and check permissions to avoid sneaky adware.
Best Audio Settings
Quality matters when you want clean sound. For archives, FLAC is unbeatable. If you need smaller files for podcasts, go with 320 kbps MP3.
- Desktop: select a 44.1 kHz sample rate in stereo mode
- Mobile: bump defaults from 128 kbps to higher bitrates where possible
These tweaks keep audio true to the source, but be ready for larger file sizes when you chase top fidelity.
Check out our guide on converting audio from Youtube for extra tips on online converters and hidden features.
Pro Editor Tips
When you have dozens of tracks, use Audacity to batch-convert files into one polished mix. Apply noise reduction across all clips in a single pass, then run them through an AI transcription service to generate chapter markers or highlights automatically.
On Android, name downloads with a prefix like ‘YT_’ so you spot them instantly. And on iOS, tweak your Shortcuts script to automate file naming too.
Try these tools and workflows to make extracting audio from Youtube feel effortless—no hidden ads, all your tags intact and a workflow you’ll actually enjoy.
Batch Audio Extraction And Legal Considerations
Manually pulling audio from dozens of Youtube videos quickly eats into your day—and patience. Automating that workflow not only speeds things up but also reduces slip-ups when you’re juggling downloads, conversions and metadata tagging all at once.
In practical terms, you can feed a CSV into a script, click through a GUI or fire off a shell command to batch-process URLs, exporting MP3 or WAV files with consistency. A well-designed pipeline saves hours and keeps your sanity intact when you’re working at scale.
- CSV-Driven Scripts: Define your URLs, formats and metadata in a spreadsheet, then hand it over to a script.
- GUI Batch Queues: Load lists into tools like yt-dlP-GUI for a point-and-click experience.
- Shell Automation: Tie together
ffmpegcommands for trimming, tagging and archiving in a single line.
You can then feed those batch outputs into AI transcription or subtitle engines to auto-generate SRT files at scale—crucial for content accessibility and repurposing podcasts into captioned videos.
Setting Up CSV Driven Scripts
Open your favourite spreadsheet editor and list video URLs in one column. Beside each link, add metadata fields like title, artist and date. It may sound low-tech, but a neat CSV is the backbone of any advanced batch process.
Here’s how I usually put it together:
- Create a file called
batch_list.csvwith headers:url,title,artist,date. - Point your shell or Python script to
batch_list.csv(for example,yt-dlp -a batch_list.csv). - Map columns to
ffmpegtags with flags like--metadata title="%(title)s".
Automating metadata right away means you won’t lose track of which file is which when everything lands in the same folder.
A short Python loop can read each row, invoke yt-dlP and ffmpeg, then log successes and failures to a report. You’ll have one place to check for errors instead of digging through dozens of directories. Next, run your transcription CLI over the resulting audio for a full-text archive.
Optimising Storage And Naming
When you’re churning out audio files by the dozen, naming and organisation become mission critical. A predictable folder layout and clear filenames help you find what you need in seconds.
- Start filenames with YYYYMMDD to keep things chronological.
- Group by channel or playlist in separate folders.
- Keep a master index (CSV or spreadsheet) that maps metadata to paths.
- After you’ve verified everything, ZIP and archive the originals to free up drive space.
Personally, I stash raw files on a network share with versioning turned on—just in case I need to roll back to an earlier take.
Using GUI Tools For Multiple URLs
Not everyone wants to touch a terminal. Tools like yt-dlP-GUI and 4K Video Downloader offer drag-and-drop lists, letting you paste or import hundreds of links and hit Start.
- Built-in presets for MP3 320 kbps or lossless WAV.
- Custom output templates (by date, channel name or playlist).
- Resume support if your connection drops mid-batch.
After extraction, import them into your preferred AI subtitle tool for auto-captioning and then embed those SRTs into your video editor for polished, accessible content.
Comparing Batch Workflows
| Workflow | Ease Of Use | Customisation |
|---|---|---|
| CSV Scripts | Moderate | High |
| yt-dlP-GUI | Easy | Medium |
| Shell Aliases | Hard | Very High |
Pick the approach that matches your team’s technical comfort and project complexity. You can always layer in more automation as your needs grow.
Scaling With Cloud Or Docker
When you’re pulling hundreds of URLs on a schedule, local machines can become a bottleneck. A Docker image with yt-dlP and ffmpeg pre-installed lets you spin up batch jobs anywhere—be it a VM, Kubernetes pod or even your own server rack.
Typical setup:
- Build a
Dockerfilethat bundles your Python scripts and tools. - Store CSVs and results in a cloud bucket (AWS S3, Google Cloud Storage).
- Schedule jobs via cron or Kubernetes CronJob.
- Ship logs to CloudWatch or an ELK stack and alert on failures.
Factor in bandwidth and storage costs, but get ready for a workflow that runs itself 24/7. Then point your transcription service at the bucket to automatically generate and distribute subtitles.
Verifying Outputs In Bulk
You’ll want to confirm each audio file matches its source length. A quick shell loop with ffprobe lets you spot any zero-second or truncated outputs before they derail your timeline.
while IFS=, read -r url title; do
  file="${title}.mp3"
  duration=$(ffprobe -v error -show_entries format=duration -of default=nw=1:nk=1 "$file")
  echo "$title took $duration seconds"
done < batch_list.csv
A command like this flags mismatches in seconds, so you can address hiccups immediately.
Copyright Rules In EU And NL
In the Netherlands and across the EU, copyright law is clear: you need a licence for commercial use of unlicensed audio. Youtube’s Content ID system is getting stricter, and streaming revenues are pushing rightsholders to enforce claims more aggressively.
Dutch Youtube penetration sits at 87.7%, according to recent data, but that popularity means you risk demonetisation, strikes or takedown requests if you skip permissions. Learn more about Youtube user trends in the Netherlands
Securing a single sync licence at the start often saves far more time (and legal headaches) than dealing with retroactive takedowns.
Youtube Content ID Enforcement
Every time you upload audio that matches a track in Youtube’s database, Content ID springs into action. You might see:
- Revenue sharing offers
- Blocked views in certain countries
- Full takedowns or strikes against your channel
This dashboard screenshot shows a claim in progress, along with options to dispute or accept a revenue share.
Practical Advice On Rights Clearance
When you plan to publish or sell extracted audio, make a rights checklist:
- Sync licences for pairing audio with video
- Mechanical licences for audio distribution
- Alternative sources like royalty-free libraries if costs get steep
- Use Creative Commons filters on Youtube to find freely reusable clips
A Dutch podcaster I know sidestepped demonetisation by licensing a handful of piano loops, then layering original narration on top. That shift to transformative use all but eliminated automated strikes.
Key Takeaways
- Automate with CSV or GUI tools to save hours on batch extraction.
- Verify every file via script to catch errors early.
- Respect EU and Dutch copyright rules to steer clear of strikes.
- Keep a robust naming scheme and archive strategy for quick retrieval.
- Leverage YoutubeToText.ai’s transcript guide when you only need text.
With these methods, you’ll handle large-scale extraction confidently and stay compliant every step of the way.
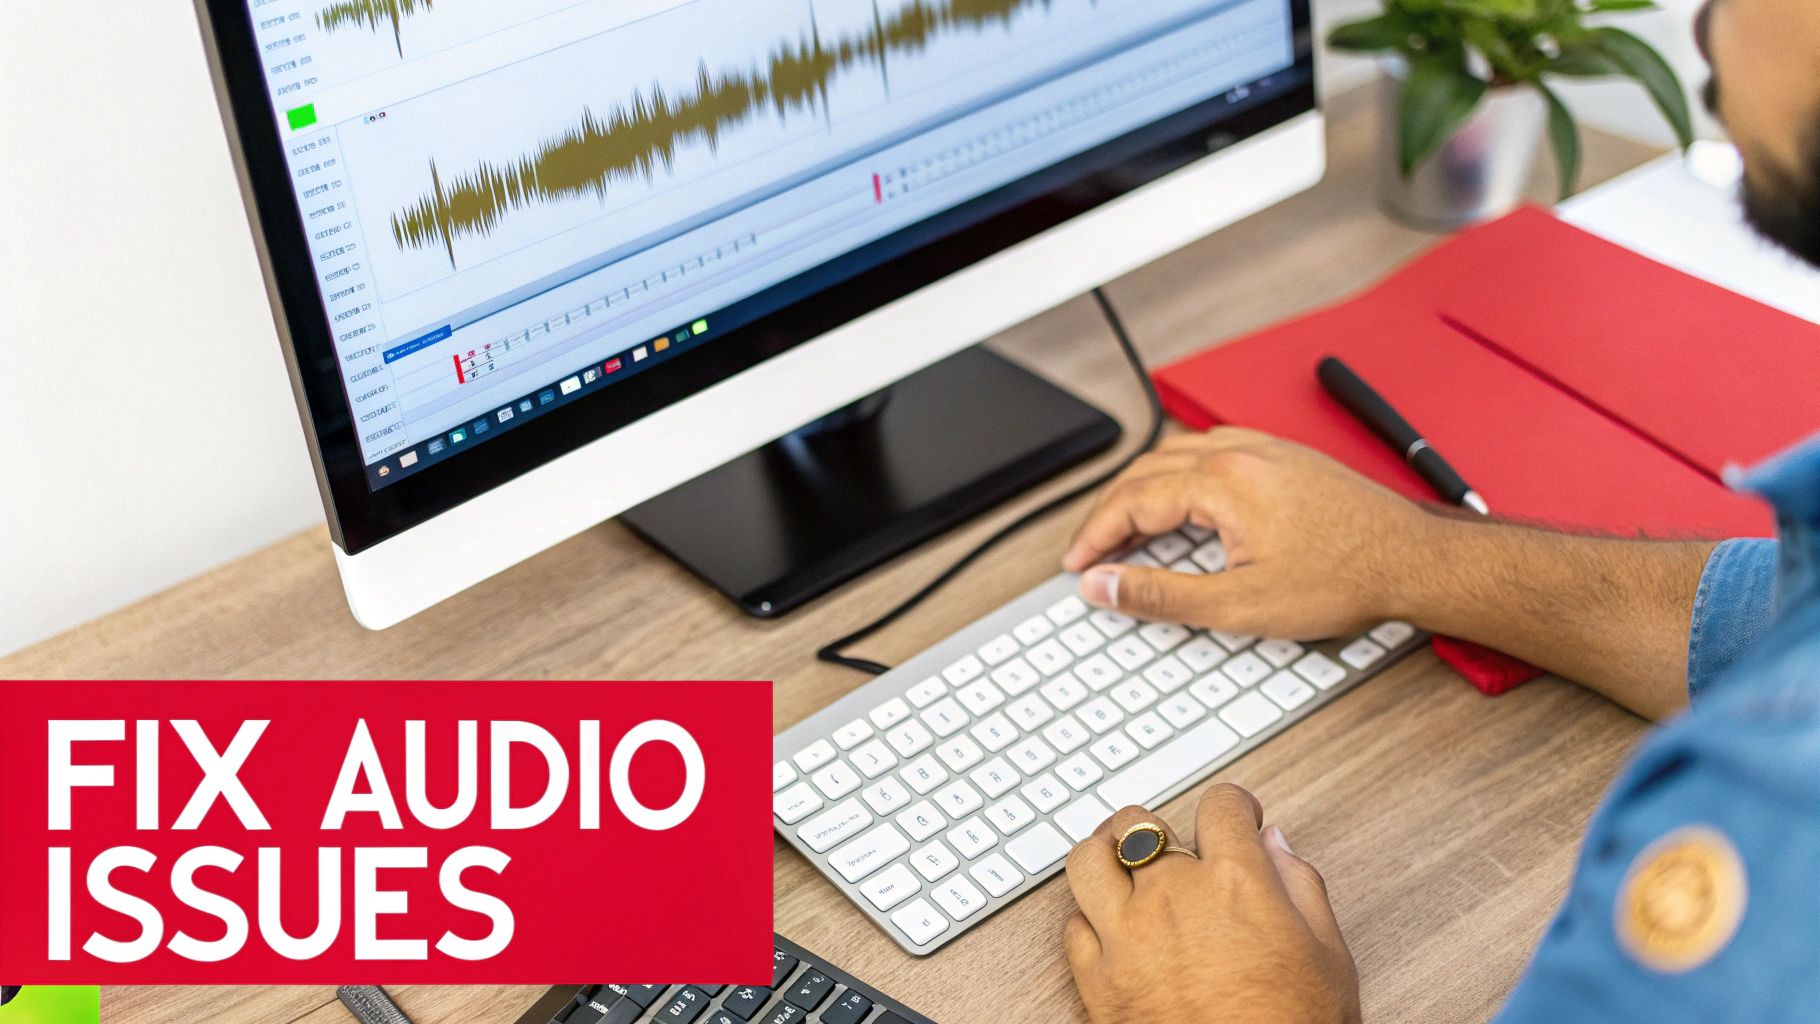
Troubleshooting Common Extraction Mistakes
Even with a polished workflow, audio extraction from Youtube can stumble over tiny codec issues or unexpected dropouts. I’ve hit these snags myself when racing against deadlines—nothing kills momentum faster than silent gaps or corrupt files.
First, it pays to diagnose quickly. Spotting the culprit early saves hours of head-scratching. Below are the most frequent hiccups—and how to sort them in a flash.
- Missing Codecs: Your system might not recognise certain audio formats.
- Silent Gaps: Conversion glitches can zap chunks of sound.
- Corrupt Downloads: Interruptions can sneak unreadable bits into your track.
Spotting a half-baked download is straightforward: compare the file size and duration against what you expected. Tools like ffprobe will flag zero-length clips in no time.
Identify And Install Missing Codecs
If an audio format refuses to play, double-check your codec roster. Run:
ffmpeg -codecs
That command lists all installed encoders and decoders. On Ubuntu, you can add the extras package:
sudo apt install libavcodec-extra
Once the package sits in, rerun your extraction—most format errors vanish immediately.
Verify And Repair Silent Gaps
I once lost a few crucial minutes of a podcast episode because of tiny dropouts. The fix? Avoid re-encoding altogether and simply rewrap the file:
ffmpeg -i input.mp3 -c copy output.mp3
This approach preserves the original audio streams and often restores any missing bits without fresh compression.
“Rewrapping avoids extra compression and often restores continuity without losing quality”
— A Tip From My Daily Workflow
Diagnose And Fix Corrupt Files
Corruption shows up as weird clicks or a sudden crash in playback. I run a quick table of checks across hundreds of clips:
| Checkpoint | Tool | Purpose |
|---|---|---|
| File Size | ls -lh | Spot zero-byte or too-small files |
| Duration | ffprobe | Match expected length against actual |
| Bitrate | mediainfo | Find irregular bitrate shifts |
When I discover bad files, a simple rename helps me isolate them:
for f in *.mp3; do mv "$f" "CHECK_$f"; done
That prefix flags any files needing a deeper look.
Tag Metadata And Manage Files
Skimping on tags turns a neat archive into chaos. I automate this the moment I extract:
ffmpeg -i input.mp3
-metadata title="Lecture 01"
-metadata artist="ChannelName"
out.mp3
For batches, I prepare a CSV with url,title,artist and feed it to yt-dlp:
- Create your
list.csvfile. - Run:
yt-dlp -a list.csv -x --audio-format mp3
--metadata-from-title "%(title)s"
-o "%(title)s.%(ext)s" - Let the tool handle naming and tagging automatically.
- Pipe resulting MP3s to a transcription engine for automatic subtitles or episode notes.
Here are a few tricks I’ve picked up:
- Prefix filenames with YYYYMMDD for easy sorting.
- Sort tracks into channel-named folders to avoid overlaps.
- Zip originals after checking to save disk space.
Prevent File Management Issues
Naming conflicts can grind bulk processing to a halt. I keep things simple:
Use lowercase filenames to dodge case-sensitive errors.
Swap spaces for underscores for cross-platform peace.
Run a conflict check with:
for f in *.mp3; do [ -e "new_$f" ] && echo "Conflict: $f" done
Finally, updating your tools before a big batch run pays dividends. A quick git pull on yt-dlp or a fresh ffmpeg download often sidesteps sudden format breaks.
Key Takeaway
A clean folder structure and consistent naming scheme keeps large-scale conversions on track—every time.
With these tweaks in your toolkit, you’ll bounce past common extraction hurdles and keep your projects humming along.
Frequently Asked Questions
Depending on your jurisdiction, grabbing audio for personal use often falls under fair use. Youtube’s Terms of Service, however, forbid any download without explicit permission. I always double-check local copyright rules and stick to videos licensed under Creative Commons when I’m unsure.
Which format delivers the best audio fidelity depends on your workflow and storage limits. Here’s what I’ve found works in practice:
- WAV preserves every bit of audio data without compression—ideal for detailed editing and long-term archives.
- MP3 at 320 kbps hits near-CD quality while keeping file sizes manageable.
Key Takeaway: Match your format choice to both your available space and your quality expectations.
Mobile And Scaling Queries
On iOS, you can run a vetted Shortcut from the Share menu to convert a Youtube URL into an 256 kbps MP3. The file lands straight in the Files app or your iCloud Drive—no sketchy downloads required.
Android users have reliable open-source options on F-Droid: install NewPipe or YMusic. Then choose WAV or a high-bitrate MP3 and save it to your Downloads folder.
Keeping hundreds of files organised is easier with a simple naming and folder scheme. I stick to:
- A filename template like YYYYMMDD_Channel_Title.mp3 for automatic sorting.
- A folder structure of RawAudio / Edited / Archives to separate stages at a glance.
- Batch-editing tags in tools such as Mp3tag or EyeD3 so metadata is consistently applied.
For accessible captions or full transcripts, feed your extracted audio into an AI transcription service and layer those subtitles back onto your video or publish text-based summaries.
Check out YoutubeToText at YoutubeToText for an easy transcript-only alternative.